Introduction
Creating a perfect chicken parmesan isn’t just about the crispy coating—it’s about ensuring that coating stays intact through every step of preparation and cooking. If you’ve ever been frustrated by breading falling off, rest assured, you’re not alone! This guide unpacks common issues and offers simple, effective solutions. From ingredient selection and preparation to cooking techniques and serving, we’ve got everything covered. Let’s dive into how to keep breading from falling off chicken parmesan and master this classic dish like a pro.
Part 1: Understanding the Breading Process
Components of Breading: Flour, Egg Wash, Breadcrumbs
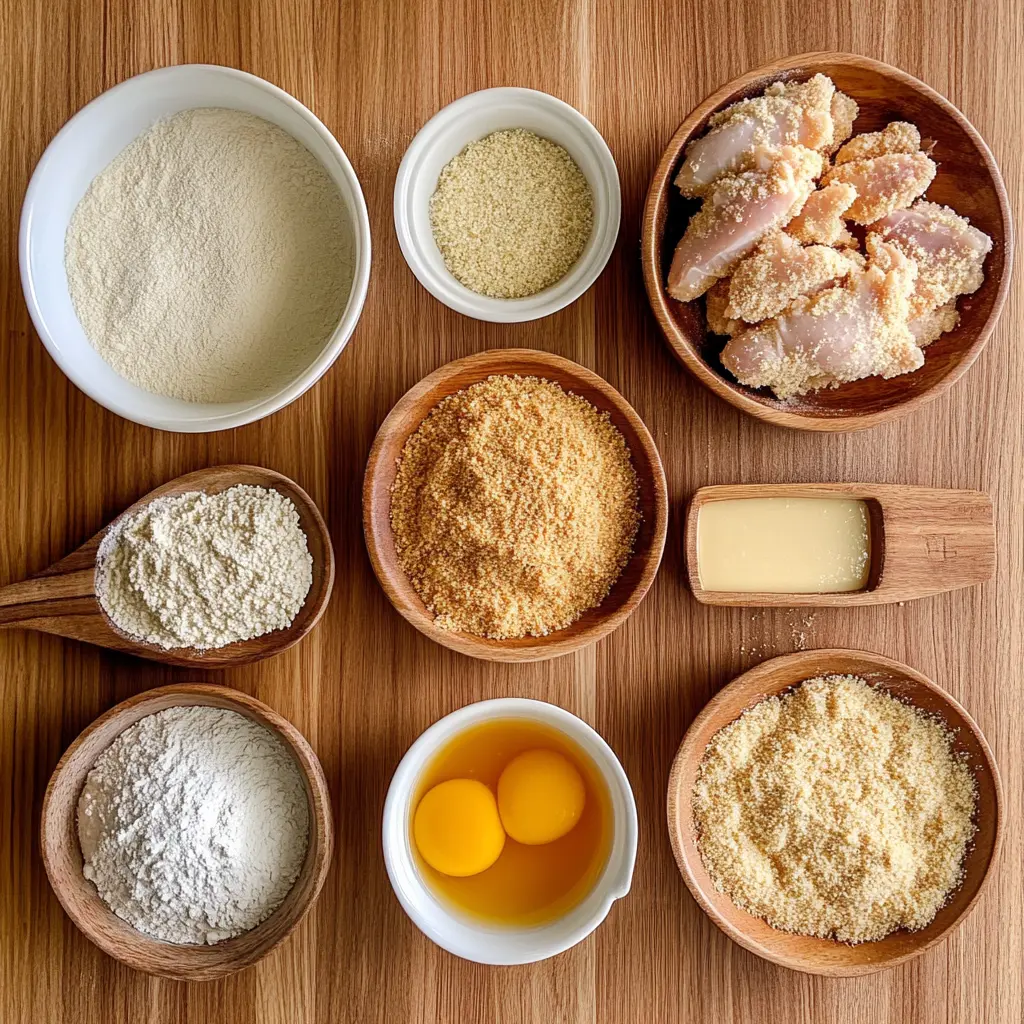
The secret to a golden, crispy coating lies in the three key players: flour, egg wash, and breadcrumbs. Each plays a crucial role in creating the cohesive layer that makes your chicken parmesan irresistible. The flour gives the surface something to cling to, the egg wash acts as a sticky binder, and the breadcrumbs provide that coveted crunch. Skipping or rushing through these steps can be a recipe for disaster—literally!
Role of Each Component in Adhesion
Let’s break it down further. Without flour, the egg wash won’t adhere properly to the chicken, leaving you with bare spots. The egg wash ensures that the breadcrumbs stick evenly, creating that smooth, crispy surface. And, of course, the breadcrumbs themselves determine the texture. Opting for high-quality breadcrumbs, like Panko, can make all the difference in achieving that golden crunch.
By understanding these components and their unique roles, you’re already a step closer to preventing breading from falling off.
Part 2: Common Reasons Breading Falls Off
Moisture Issues
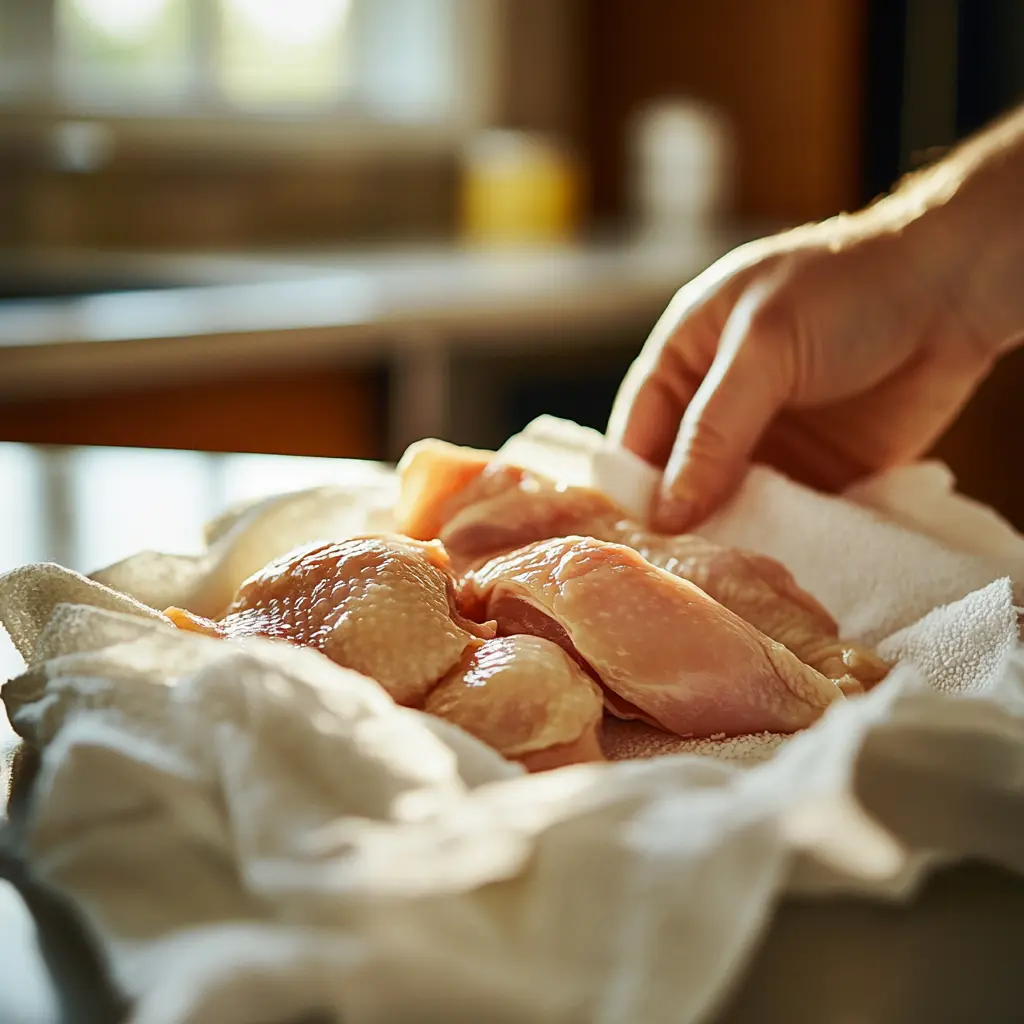
Excess moisture is a sneaky culprit that can ruin your breading before you even begin. If your chicken is damp or hasn’t been properly dried, the flour won’t stick, and the whole coating process becomes compromised. Whether your chicken is fresh or thawed, patting it dry with a paper towel is a small but crucial step to success.

Improper Coating Techniques
Rushing through the breading process is tempting, but skipping steps or applying uneven layers will almost always lead to peeling. For instance, if you don’t coat the chicken entirely in flour, the egg wash won’t bind, and you’ll be left with patches of missing breading. Similarly, applying too thick a layer of breadcrumbs can result in a clumpy, uneven texture that doesn’t adhere well.
Cooking Method Errors
Even if your breading looks flawless before cooking, errors during this stage can undo all your hard work. Overcrowding the pan, flipping the chicken too soon, or cooking at the wrong temperature can cause the breading to detach. High heat is essential for sealing the coating quickly, while overcrowding traps steam, making the breading soggy and prone to sliding off.
Understanding these pitfalls can help you adjust your approach and avoid common mistakes that lead to breading failure.
Part 3: Selecting the Right Ingredients
Choosing the Appropriate Flour
Not all flours are created equal when it comes to breading chicken parmesan. All-purpose flour is a go-to choice for its fine texture and neutral flavor, but some cooks swear by potato starch or cornstarch for an even crispier finish. Whichever you choose, ensure it’s fresh and free of clumps for the best results.
Importance of Fresh Eggs
Eggs are the glue that holds your breading together, so their quality matters. Fresh eggs have a thicker consistency, which helps breadcrumbs adhere better to the surface of the chicken. Adding a splash of milk or cream to the egg wash can enhance its binding properties, creating a richer, smoother layer.
Types of Breadcrumbs: Fresh vs. Panko
Breadcrumbs are the final touch, and the type you use can dramatically alter the texture of your dish. While fresh breadcrumbs offer a softer, denser coating, Panko breadcrumbs provide an airy, ultra-crispy crust that’s perfect for chicken parmesan. Seasoning your breadcrumbs with herbs, Parmesan cheese, or garlic powder can also elevate the flavor profile, ensuring your chicken is as tasty as it is beautiful.
Selecting the right ingredients sets the foundation for a perfectly breaded dish every time.
Part 4: Preparing the Chicken Properly
Thawing and Drying Techniques
Proper preparation begins long before the breading process. If you’re using frozen chicken, thaw it completely in the refrigerator rather than rushing with a microwave or warm water. This prevents excess water from seeping into the meat. Once thawed, pat the chicken dry on all sides using paper towels. Even the smallest amount of surface moisture can interfere with the flour and cause the breading to slip.
Pounding Chicken to Uniform Thickness
Uniformity is key when it comes to breading chicken parmesan. Uneven chicken pieces cook at different rates, increasing the risk of burning or undercooking parts of your coating. By placing the chicken between two pieces of plastic wrap and gently pounding it with a mallet, you can achieve a consistent thickness. A uniform piece of chicken not only cooks evenly but also allows the breading to adhere more reliably.
These preparation steps might seem minor, but they’re the backbone of keeping the breading intact throughout the cooking process.
Part 5: The Standard Breading Procedure
Step-by-Step Guide to Dredging
The dredging process is more than just coating chicken—it’s about creating layers that stick together seamlessly. Start by dusting the chicken lightly in flour, shaking off any excess to avoid clumps. Next, dip it into a beaten egg wash, ensuring full coverage on both sides. Finally, press it gently into your breadcrumbs, turning it over to coat evenly.

Importance of Sequence in Coating
The order in which you dredge your chicken is non-negotiable. Flour first ensures the egg wash adheres, while the egg wash acts as the adhesive for breadcrumbs. Skipping or reversing steps results in a coating that peels or flakes off. To lock everything in, lightly press the breadcrumbs into the chicken instead of rubbing or dragging them, which can disturb the earlier layers.
Mastering this standard procedure ensures a uniform, restaurant-quality coating that stays put during cooking.
Part 6: Enhancing Breading Adhesion
Double Dipping Method
When one layer of breading isn’t enough, the double-dipping method can be your best friend. After the initial coat of flour, egg wash, and breadcrumbs, repeat the egg wash and breadcrumb steps for an additional layer. This technique reinforces the coating, creating a thicker crust that clings tightly to the chicken. It’s especially helpful for achieving that satisfying crunch in chicken parmesan.
Resting the Coated Chicken Before Cooking
Once your chicken is breaded, don’t rush to the stove. Allowing the coated chicken to rest for 15–20 minutes on a wire rack lets the layers bond and dry slightly, reducing the chances of breading slipping off during cooking. Resting also helps the coating adhere more firmly by allowing the egg wash to set. It’s a small but effective step that ensures the breading stays intact.
These techniques can elevate your dish from good to great, providing an extra level of security for your breading.
Part 7: Cooking Techniques to Maintain Breading
Optimal Frying Temperatures
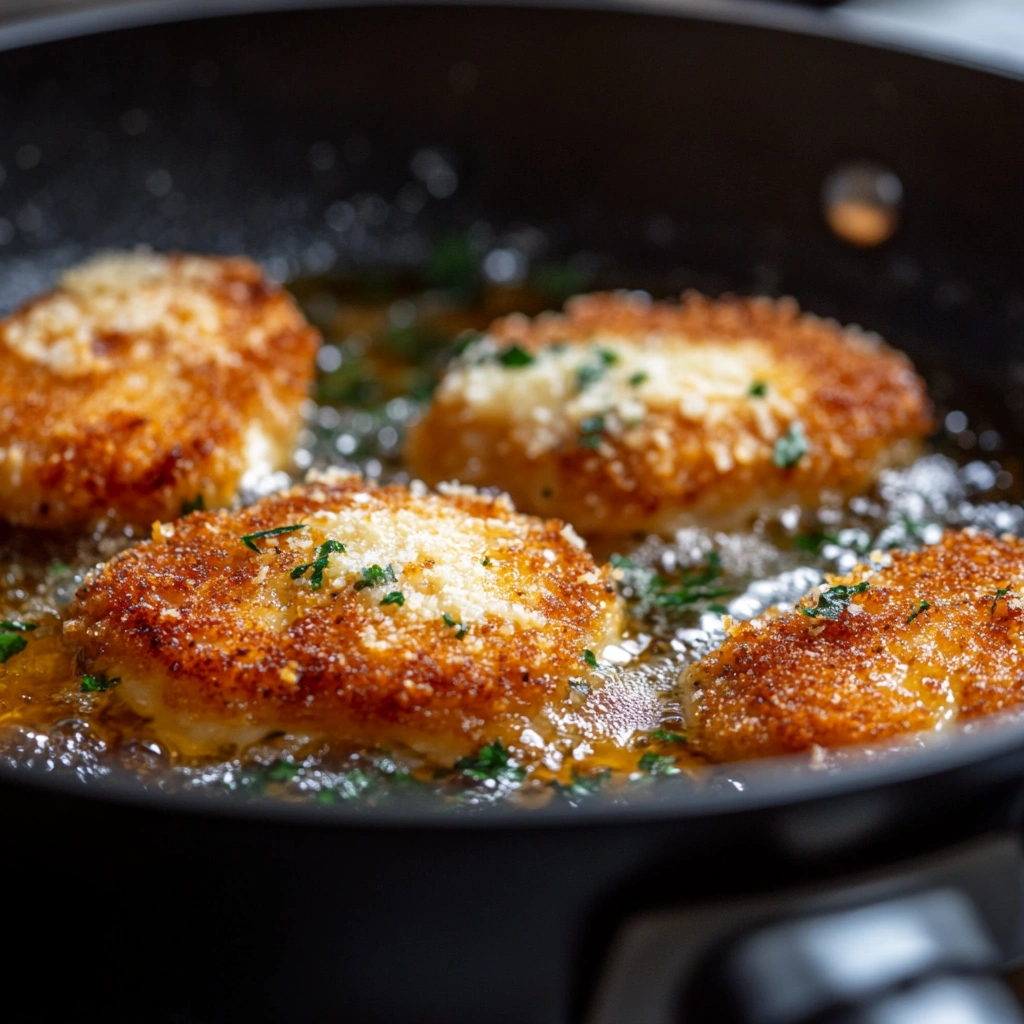
Temperature control is critical when frying breaded chicken. Cooking at too low a temperature can make the breading absorb oil, leading to a greasy texture that falls apart. On the other hand, excessively high heat can scorch the breading before the chicken is fully cooked. Aim for a medium-high heat, with the oil temperature between 350°F and 375°F. Use a thermometer to maintain consistency and achieve that crispy golden exterior.

Baking Methods to Preserve Coating
If you prefer baking over frying, proper technique is just as important. Preheat your oven to 400°F and place the breaded chicken on a lightly greased wire rack set over a baking sheet. The wire rack ensures hot air circulates around the chicken, crisping the breading evenly while keeping it from getting soggy. A light spray of oil over the top can help enhance the golden color.
Following these cooking methods not only ensures your chicken is evenly cooked but also keeps your breading firmly in place.
Part 8: Avoiding Common Mistakes
Overcrowding the Pan
Frying too many pieces of chicken at once lowers the oil’s temperature and creates steam, which can loosen the breading. Cook in small batches, leaving enough space between pieces so the heat remains consistent. This simple step preserves the crispy integrity of your coating.
Flipping the Chicken Too Early
Patience is vital when cooking breaded chicken. Flipping the chicken too soon can tear the coating, exposing the meat underneath. Allow each side to develop a firm, golden crust before turning it over—this usually takes 3–4 minutes per side. Using a spatula instead of tongs can also minimize disruption to the breading.
By steering clear of these common mistakes, you’ll significantly reduce the chances of losing your hard-earned breading.
Part 9: Advanced Tips for Perfect Breading
Incorporating Cheese into Breadcrumbs
For an elevated flavor and an extra adhesive boost, mix finely grated Parmesan or Romano cheese into your breadcrumbs. The cheese melts slightly during cooking, helping to bind the breadcrumbs together and stick to the chicken. It also enhances the overall taste of your chicken parmesan, giving it a savory depth that’s hard to resist.
Using Potato Starch for Extra Crispiness
If you’re aiming for maximum crunch, consider replacing flour with potato starch during the dredging process. Potato starch creates a lighter, crispier coating that adheres beautifully to the chicken. When paired with Panko breadcrumbs, it ensures an airy crust that’s as sturdy as it is delicious.
These advanced tips not only improve adhesion but also add a touch of gourmet flair to your dish.
Part 10: Troubleshooting Breading Issues
Identifying Problems and Solutions
Breading peeling off? It could be due to wet chicken or skipping the flour step. Is your crust falling apart while cooking? The oil temperature might be too low, or you may be flipping the chicken prematurely. Taking a closer look at your technique can help pinpoint what went wrong and how to fix it.
Adjusting Techniques for Better Results
If your breading still isn’t sticking, try adding a pinch of salt to the egg wash. Salt helps break down proteins, creating a stickier surface for the breadcrumbs to adhere to. Additionally, letting your breaded chicken rest longer before cooking can solve many adhesion issues by giving the layers time to set.
Troubleshooting ensures that even if something goes awry, you can adjust your method and get back on track to flawless chicken parmesan.
Part 11: Healthier Alternatives
Baking Instead of Frying
If you want to cut down on oil without sacrificing crispiness, baking is a fantastic alternative. Using a wire rack as described earlier helps maintain a crunchy coating without the need for frying. Adding a light drizzle of olive oil or a quick spray ensures golden results without the excess fat.
Using Whole Wheat Breadcrumbs
For a nutritious twist, substitute regular breadcrumbs with whole wheat ones. They add a subtle nuttiness to the flavor while offering additional fiber and nutrients. Pair this with a low-fat egg wash made with egg whites, and you’ve got a healthier version of chicken parmesan that still tastes indulgent.
These options prove that you don’t need to compromise on flavor to make a lighter, healthier dish.
Part 12: Serving Suggestions
Pairing Chicken Parmesan with Sides
A perfectly breaded chicken parmesan deserves equally enticing accompaniments. Classic spaghetti with marinara sauce is a timeless choice, but creamy mashed potatoes or a crisp Caesar salad can also complement the dish beautifully. For something lighter, roasted vegetables like zucchini or asparagus make excellent sides.
Presentation Tips for Optimal Appeal
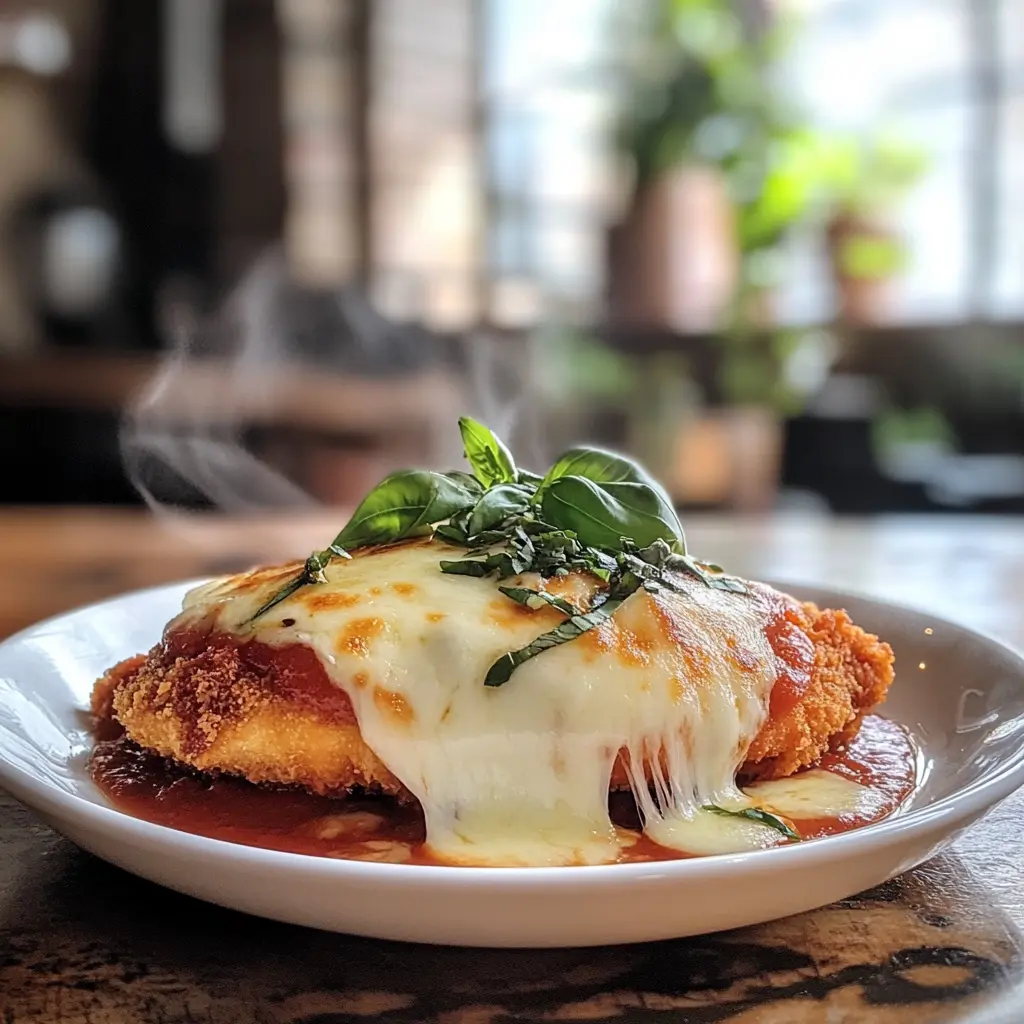
To wow your guests, garnish your chicken parmesan with fresh basil leaves or a sprinkle of parsley. Serve it on a white plate to make the golden crust pop, and drizzle a bit of marinara sauce artistically on the side. Presentation matters, and a visually stunning plate can elevate the dining experience.
Thoughtful pairing and presentation turn a great meal into a memorable one.
Part 13: Frequently Asked Questions (FAQs)
Why does my breading always fall off chicken parmesan?
Your breading may fall off due to moisture on the chicken, skipping the flour step, or rushing through the breading process. Ensuring the chicken is completely dry, following the correct order of dredging (flour, egg wash, breadcrumbs), and resting the coated chicken before cooking are key to avoiding this issue.
Should I refrigerate breaded chicken before cooking?
Yes, refrigerating breaded chicken for 15–20 minutes before cooking can help the breading set and adhere better during the cooking process. This step allows the layers to bond and reduces the risk of the coating peeling off.
Can I use non-dairy alternatives for the egg wash?
Absolutely! Non-dairy milk like almond or soy milk mixed with a bit of flour can act as an alternative binder. For a thicker consistency, try adding cornstarch to your chosen non-dairy liquid.
How do I keep breading from falling off when baking?
To keep breading intact while baking, use a wire rack over a baking sheet for better air circulation and crispness. Lightly spray the breaded chicken with oil before baking and ensure the oven is preheated to maintain even cooking.
What is the best way to make breadcrumbs stick better?
Using fresh eggs for a thick and sticky egg wash is essential. Pressing the breadcrumbs gently into the chicken rather than patting them lightly also ensures better adhesion. If needed, you can double-dip for added security.
Can I prepare breaded chicken parmesan in advance?
Yes, you can bread the chicken a day ahead and refrigerate it on a wire rack. Be sure to cover it loosely with plastic wrap to keep the coating from drying out while allowing it to set properly.
Conclusion
Mastering the art of keeping breading from falling off chicken parmesan requires attention to detail, proper technique, and the right ingredients. From drying your chicken and layering the coating correctly to perfecting your cooking method, each step plays a vital role. By incorporating these tips and troubleshooting any issues along the way, you can confidently create a flawless, restaurant-quality chicken parmesan every time.

